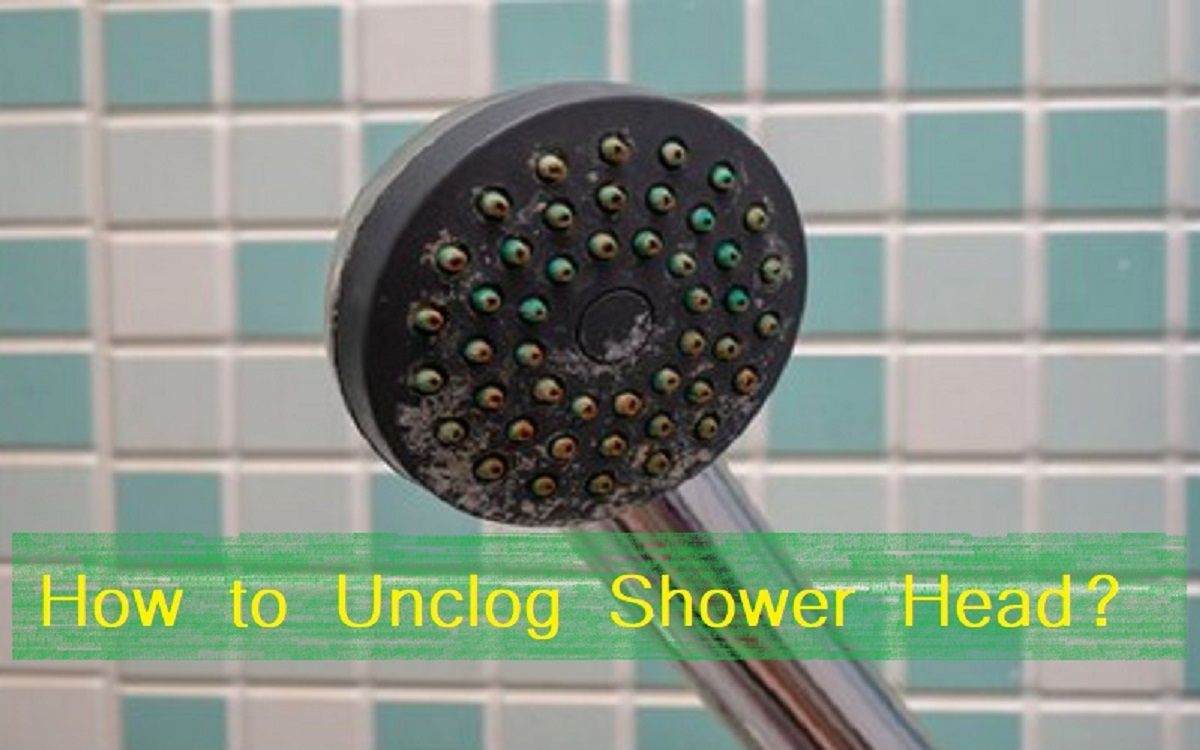
Did you ever face something like you’re taking a shower and the water started to shoot on your face in all directions? Yes, it’s a common scenario for everyone.
You have to face this unpleasant thing because of a clogged shower head. That’s why you should have a clear and concise idea about ‘how to clean clogged shower head’.
Before starting the unclogging process, let’s have a look at the reasons behind the clogging.
Why Do the Showerheads Get Clogged?
The Chicago Tribune reports that 85% of homes of the US use hard water for their everyday needs. This is a primary reason behind your showerheads becoming clogged. The other probable reasons are –
- Debris found in the water
- Organic matter found in the water
- Using too much natural water
- Presence of organic matter in our water
- Using hard water for a long time etc.
Also, natural water has Potassium, Calcium, Magnesium, Sodium, and a few other mineral deposits. These deposits can (and definitely will) clog your showerheads or faucets. It’s not harmful to our bodies, but it slows down the water flow.
However, a recent study conducted by the Cooperative Institute for Research in Environmental Sciences at the University of Colorado Boulder found that showerheads contain excessive amounts of Mycobacterium. Basically, the wet environments like the inside of a faucet are a perfect breeding place for the bacteria.
How to Clean Clogged Shower Head?
Now you know the reasons for clogging and why you should clean the shower heads regularly. So, if you’re sweating yourself over how to unclog a shower head, there is nothing to worry, I’m here to rescue you.
Let’s have a closer look at the required tools first.
Required Tools
Here’s what you will need to go along with the cleaning process.
- Distilled white vinegar
- A pair of gloves
- A zipper bag
- Elastic band
- An old toothbrush
- A medium-sized bucket
- Thread-seal tape
- A towel
- A wrench (optional)
If you have all of these tools at hand, you’re ready to initiate the cleaning process. Let’s start!

Step 1: Turn off the Water Supply Line
Turning off the water supply is the very first step before starting the cleaning process. Most of the shower panels have the power valve in the backside of the panel.
There will be a knob that controls the water flow of your bathroom shower. Rotate that knob clockwise until it stops rotating by itself. Now there will be no water supply, and the showerhead is ready to be pulled out.
Step 2: Heat the Vinegar
To get the best cleaning experience, you should use heated vinegar. Don’t heat too much. Simply warm the vinegar and keep the temperature above room temperature.
Step 3: Prepare the Mixture
Preparing the mixture is the most crucial part of the cleaning process. Get ready to make our own cleaning agent by alloying mineral water and distilled white vinegar. You have to mix 1 cup of white vinegar and 3 cups of mineral water in the bucket. Then shake the mixture properly.
Step 4: Pull out the Showerhead
There are two different types of showerheads. These are –
- Removable and
- Non-removable
The removable heads are easy to detach from the shower pipe. You just need to twist the head clockwise until it disconnected entirely from the hose. If the head is attached by using nuts, use a wrench to rotate that. However, don’t pressurize too much. Higher pressure may damage the head.
Keep a towel around before entirely removing the head from the hose. In case there are any water drips, clean that by using the cloth. On the contrary, if your shower head is non-removable, jump to step six.
Step 5: Disassemble the Head
At this moment, you have to disassemble the removed shower head. It helps to clean the internal components of that shower head.
Love to read these also: Buyer’s Guide of Rain Showerhead & Delta Showerhead
Step 6: Submerge the Head into the Mixture
The submerging process depends on the showerhead type. We’ll discuss both of them.
Submerging the Removable Heads
As you’ve already disassembled the heads, sink the internal parts into the mixture. If it doesn’t submerge entirely, pour more water and vinegar into the bucket. Don’t forget to maintain the 1:3 vinegar and water ratio.
Submerging the Non-Removable Heads
You’ll need a zipper bag to keep the non-removable shower head into the chemical mixture. At first, place some vinegar and water mixture into a zipper bag. To get the best output, fill only the lower half of the container. Otherwise, it may overflow.
Now take the zipper bag and place it around your shower head. Make sure that the head is fully submerged into the mixture. After that, attach it by using an elastic band.
Step 7: Keep It Submerged
Keep the head submerged for several hours. You’ll notice a few pop-up bubbles or white residue around the head within 2/3 hours. It means the vinegar has started cleaning. To get the best cleaning result, keep it under the water overnight.
Step 8: Remove the Showerhead from the Vinegar
After several hours have been passed, it’s time to take the showerhead out of the vinegar mixture. Use high-quality hand gloves before pulling up the head.
Step 9: Scrub and Rinse the Head
Use an old toothbrush and scrub softly to remove any stubborn white residues that are still visible in the nozzle. Then, rinse the head properly with clean water. Clean the nozzle with extra care and ensure that there is no leftover residue in the head. It will be better if you rinse it several times (three will do the job!).
Step 10: Reinstall and Enjoy
Finally, the whole cleaning process is complete, and it’s ready to reinstall again. Firmly keep the head onto the hose and rotate it anticlockwise. Continue rotating until it stops turning automatically.
Try to put some thread-seal tape on the arm. It helps the head to stay tight with the hose.
Final Verdict
Isn’t your showerhead clean now? I know it is!
It may take a lot of time, but the result will be fabulous as you know how to clean a clogged shower head! Furthermore, your shower head will look new and pretty too!
Good luck!
Read More:
Resources: Cires Colorado, Science Direct, Chicago Tribune

