
Installing shower faucets is a duty that calls for some expertise. The work might be a bit technical especially for a beginner. There are a few steps that must be adhered to when doing the installation. Failing to observe such may lead to the doing of substandard. There is a reprieve however because there always a manual in case of difficulties. This still calls for expertise after all.
In this article, we are going to examine the procedure of doing the installation. It is useful for everyone who wants to undertake the job. Please read more information.
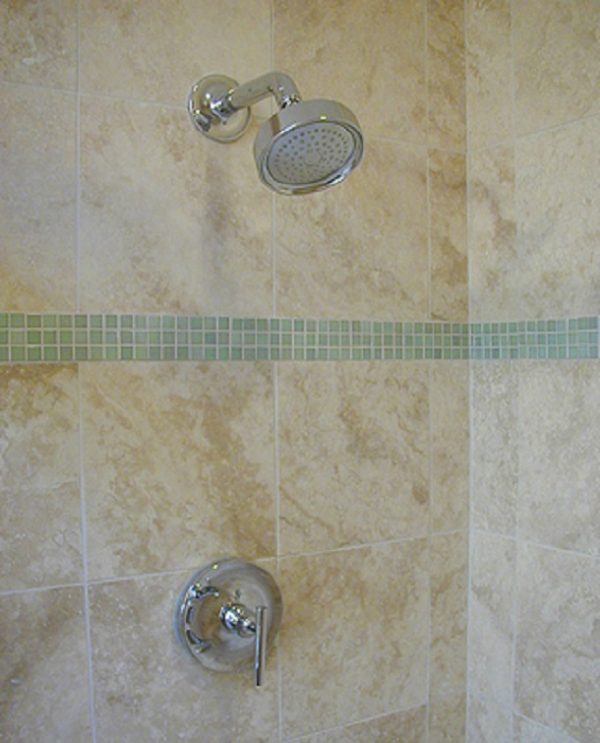
How to install shower faucets / how to install a shower faucet new construction?
The steps are as enumerated below.
1. Preparation.
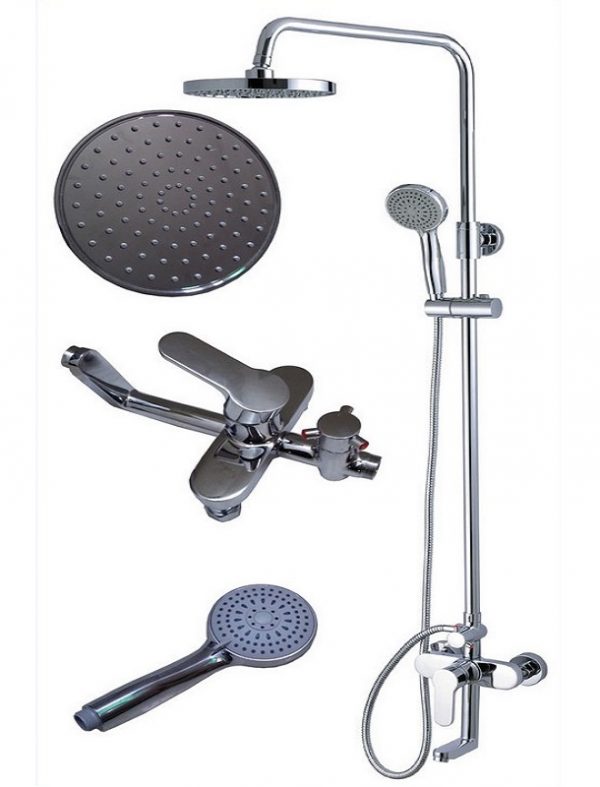
For every work which you undertake, there must be preparation done. This involves bringing in any required tool to be used, getting the right type of shower faucet to install. It also involves identifying the correct spot where the faucet will be placed, the exact measurements and so on. It is at this point also where you will have to decide on the type of faucet to install. Could it be the single-handled, doubled handled or a three handled shower faucet which you desire to install? This purely depends on your desire.
Some of the tools which you might need to use here are:
- The pliers in most cases adjustable.
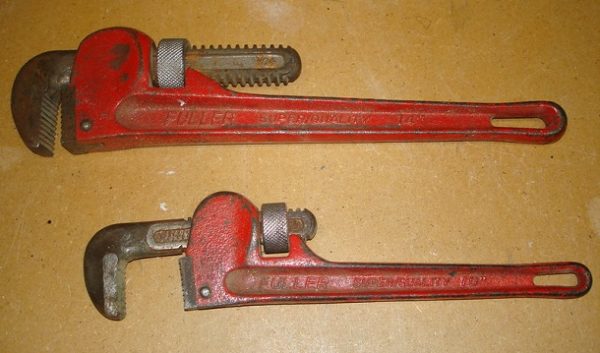
- Pipe wrench.
- Safety gear.
- Clean towel.
- Plumber’s tape.
- Screwdrivers and some more tools.
Start the job by switching off water from the main valve.
It will not be possible to work on the installation when the water is in the tap. You must, therefore, turn off the water. The main valve can be located either somewhere in the room if you are using water from your source. If the source of water is from a municipality where billing has to be done, then the valve is usually next to the meter. In this you, you will need to locate where the water meter is placed.
You may be having more than one main valve depending on the water connection settings in your residence. These could be valves to the kitchen, garden, bathroom and so on. Identify the appropriate one before switching off the water.
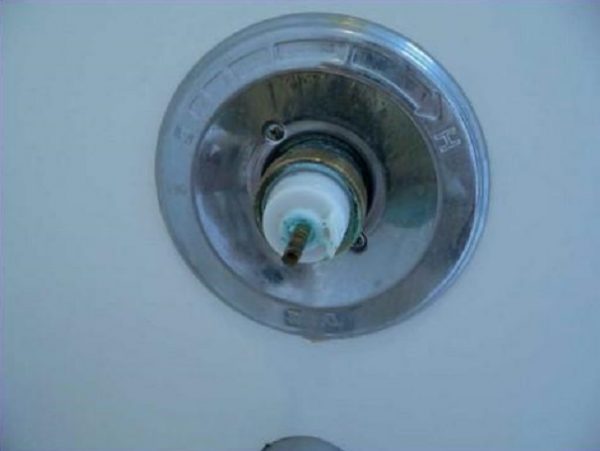
Taking off the old faucet.
If you have had a faucet in the bathroom before, then you will need to remove it. This step will not apply if the bathroom is completely new. Removing the old faucet also has a few steps to follow. You begin by removing the components in the following order
- Remove the handle(s) first.
- Take off the sprout.
- The flange is removed too.
- Remove the valve assemblies.
The entire above are removed by either unscrewing or by rotating them in an anticlockwise direction until while slightly pulling them off. While doing all these, you have to protect your bathtub by covering it. Loose tools or objects may fall off and damage it.
Identify the spot where you will place the new shower faucet.
This involves marking off the exact location and even making cuts where necessary. For the new faucets, especially for the new bathroom, you will have to make some proper measurements. If the installation is to be done where an old faucet has been standing, then it can just be fixed there. No need for new measurements.
For the new shower, when done with making the measurements, you will then drill the holes in the wall. This is because faucets are always mounted on the walls. The size of the holes to drill depending on the size of the base of the shower. Make sufficient space in the wall too for the pipe to be laid to. When done with the cutting of the wall, do some cleaning on it before installing the new shower faucet.
Bleach water and vinegar can be used to clean, but be careful not to mix the same while cleaning. It could be harmful. Do not let the solution drip on the wall. Just wipe it off completely. Do not install the faucet if the wall has not yet dried up.
Installing the new valves.
With the package which you just bought, take off the valves and run test them by turning then anticlockwise. This is just to ensure that they are functioning well. Introduce some tape to the new valve too. This helps in minimize or to prevent leakage. Insert the new valves into the pipe and turn them in clockwise direction until it firmly holds. If it fails to hold, take it off and repeat the process.
Forcing them to hold will lead to more damages, and may leave your faucet leaking all the time. When satisfied that all the valves have held properly, then tighten the valves by use of adjustable pliers or the pipe wrench. Do not over-tighten it because it will break or even damage the valves. On the other hand, do not leave it loose. It will let water out by leaking.
Put back other components.
When you have tightened the valves, then you will need to proceed with the job. The next item to put back is the sleeve. Using your hand, take the sleeve, place it over your hand and rotate it clockwise until it tightens up.
Replace the flange. Bring it over the sleeve and tighten it using screws. Do not tighten it so much to avoid damaging the threads. Introduce the new faucet handle in this stage and tighten it too. Turn the handle in the clockwise direction. This is to tighten the valve. Then leave it in a shut-off position. Put back the retaining screw over the handle. This is to keep the handle in place all the time.
Caulk the system to seal off any spaces which may allow water leakages. This can be done by bath tub caulk. Give it sufficient time to dry. The recommended time is 24 hours.
Turn on the water supply.
Test the new system by letting water flow through it. This is after the caulk has dried up. Then check for any leaks when the water is running.
Conclusion.
The above-enumerated steps represent a step by step method of installing the faucet. It applies to both new and old faucets. Old means that the shower is not a new one, hence replacement of the faucet has to be done. Follow the above procedure when installing one. Exercise care when dealing with water fittings since they are delicate.