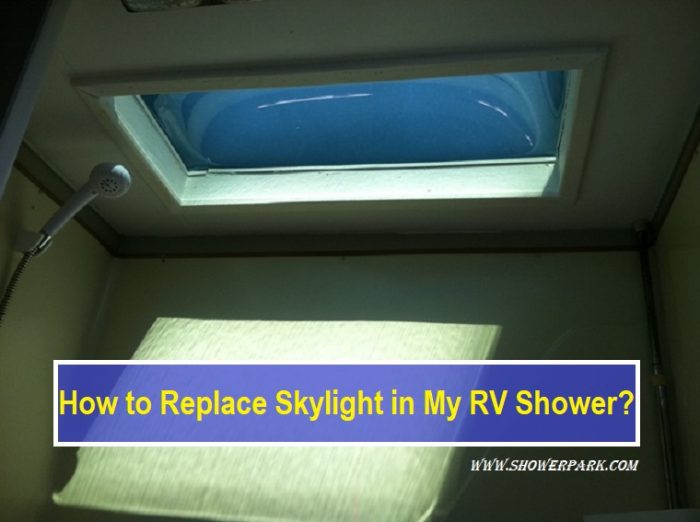
Staying in darkness in the bathroom is sometimes a thing which one does not desire. In some instances, a place is just dark due to instances such as lack of electric power. This thus, calls for creating some form of lighting using natural means.
RV skylights are a good option in this case. This system, however, goes bad after some time. It hence means that its replacement has to happen in a matter of time.
How does one then undertake the replacement? Which is the method of doing it? This article has the answer to all your questions. Read on for more information.
What causes the skylight to wear out?
This item undergoes normal wear and tear which occurs due to its constant use. The environment in the bathroom is always damp and moist.
Moisture released from water tends to cause the seal of the skylight to break down. Therefore it is always important to maintain good care of the skylight.
Frequent inspection and resealing are highly recommended. This component consists of two pieces, hence separate care and maintenance may have to be exercised.
What is the procedure of replacing the RV shower skylight?
Before carrying out the exercise, make sure that you have a sealant and the dome. These two components are quite instrumental in the replacement of the skylight. Once you have this in place, then the actual process can begin. Consider the following steps.
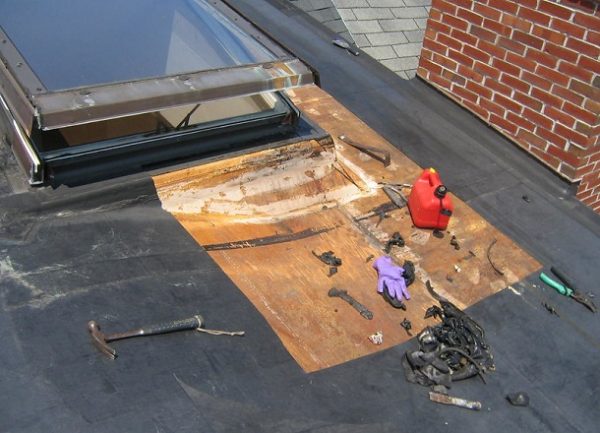
Take off the old sealant and the screws.
This activity can be done with the help of a putty knife. Scrape off the old sealant carefully. Be wary of damaging your ceiling when scraping off the sealant. This exercise leads to the exposure of the screws which were used to attach the dome to the ceiling.
When you get access to the original screws, remove them too by the use of a screwdriver. After removing the screws, check to see if they can be reused. If they are rusted and worn out, then it will not be a good idea to reuse them.
Otherwise, if they are still in good shape, then you can comfortably recycle them. They should be able to hold on until when you are ready to do the next replacement.
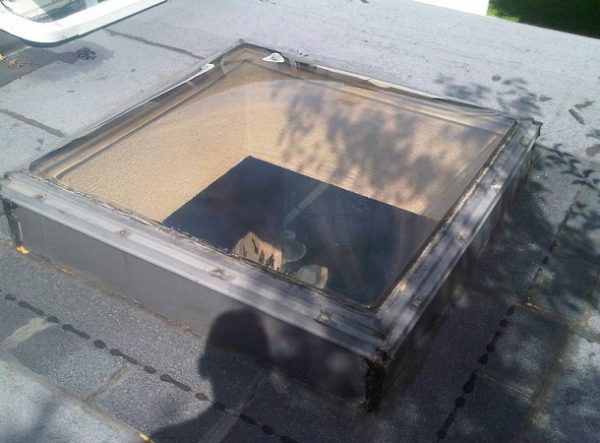
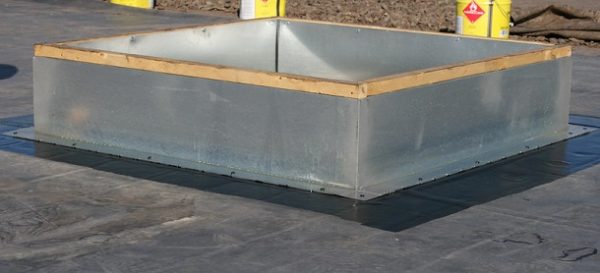
Take off the old skylight dome.
There is nothing that still holds the dome once the sealant and the screws are out. The knife can aid in the removal by prying in between the dome and the ceiling and or the roofing.
As usual, take care so as not to damage the roofing while taking off the dome. Pry the dome, loosening it bit by bit until the whole thing becomes loose. Then remove it off completely when it has become loose.
The remaining old sealant.
Under the dome is an old sealant that had not been scraped off. By use of the putty knife, scrape this remaining piece of material off. Be careful not to damage the roofing of your shower when removing the sealant.
Mineral spirits and a rag too can be used to remove off any other remaining sealant. Ensure that you get off as much sealant as possible.
This is to help provide much needed free space for doing the replacement. Mineral spirits can harm your roof too, so you will need to be a little bit careful when applying it.
You may love to read top rv showerhead reviews.
Cover the old screw holes and fit the skylight replacement.
Since the new dome might be different in design with the old one, it may therefore not fit the shape of the old dome. Use a sealant that has been recommended to you by the manufacturer.
Make sure that all old holes are covered by the sealant since they may not be of any use again. In any case, you will create some new holes when doing the actual replacement.
You are advised to fit the replacement while the sealant has not dried yet. This is because the skylight replacement has to form a strong bond together with the roof.
The process is aided by the sealant. Move the dome back and forth over the sealant to make it flat. This happens while at the same time bonding with the roof. For maximum lighting of the shower, ensure that you let the dome settle at the center of the opening in the roof.
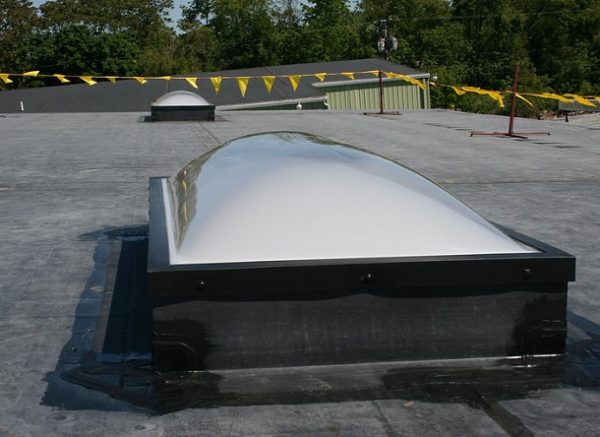
Fasten the new skylight to the roof.
Use the screws to fasten the new dome to the roof. It is possible to find the new dome having more holes for the screws.
This, accordingly, means that you should have screws to cater to this need. Tighten it until it holds firm. Make sure that you do not overtighten as you may end up breaking the new system.
While fastening it, some sealant may seem to leak from the sides. This is a normal phenomenon. This sealant will have to be gotten rid of by the use of a putty knife. Ensure that while removing the sealant; do not leave the roof to remain irregular, but even.
Protect the sealant against environmental factors.
Water and moisture are the biggest destroyers of the skylight. They get to leak into the dome through the openings on the edges. To avoid this problem, you have got to seal off the edges of the dome. You will, therefore, need to apply some extra sealant to cover the ends completely.
Do not leave the screws exposed.
Water and moisture too can destroy the screws holding the dome. Therefore, seal off the screws too by the use of the sealant. They should not be exposed at all.
Leave the sealant to dry.
You are now done with the work. Provide some sufficient time for the sealant to dry completely. After that, inspect the skylight to establish whether everything is okay or some corrections have to be done. The sealant may shrink in the process of drying up. You will, therefore, have to replace it as soon as possible.
Conclusion.
Replacing a skylight in the bathroom sometimes calls for patience as the process may consume some time. You should, consequently, undertake the process when you are not so busy. The steps are as enumerated above.
Follow all the steps and you will have the work done correctly. Guard your skylight against damages by carrying out regular inspections. Seal it off too to keep off water and moisture from causing it to breakdown often.