The bathroom, just like others just like all the other rooms in the house needs some bit of fresh air. When the bathroom is in constant use without having air circulate in it, it will develop a foul smell. In most cases, air circulates through the openings such as the windows and some other form of ventilation. The most advanced way of draining the foul smell from the bathroom is by the use of a bathroom exhaust fan.
It takes out moisture and foul smell from the bathroom via a tube to the atmosphere. At the same time, it brings in fresh air from the environment. Due to its continuous use, it tends to break down. Replacement is therefore inevitable. So do we replace it? What are the dos and the don’ts when doing the replacement? Follow through the article for more information.
How do you replace the bathroom exhaust fan/how do you do the bathroom fan replacement?
The following is the procedure of doing the replacement.
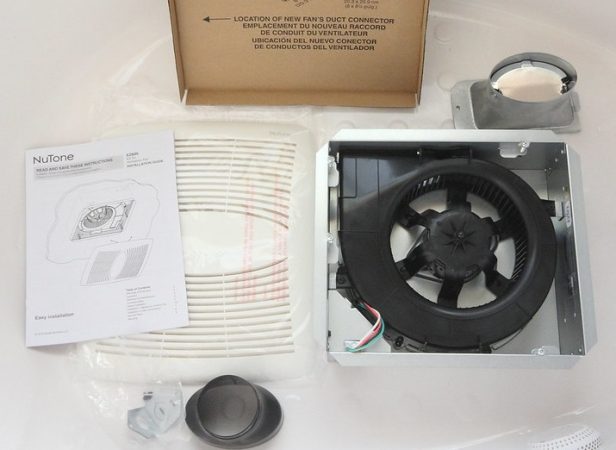
Assemble all the required tools
You need to put everything in order before you begin the actual work. Even as you assemble the tools, ensure that you have the correct type of fan. It is important to replace an old fan with a new one of the same model. Another important thing to look for is the licensing. In some regions, it is illegal to carry out the replacement with the proper license. When you have all the above in place, you are all set for the work.
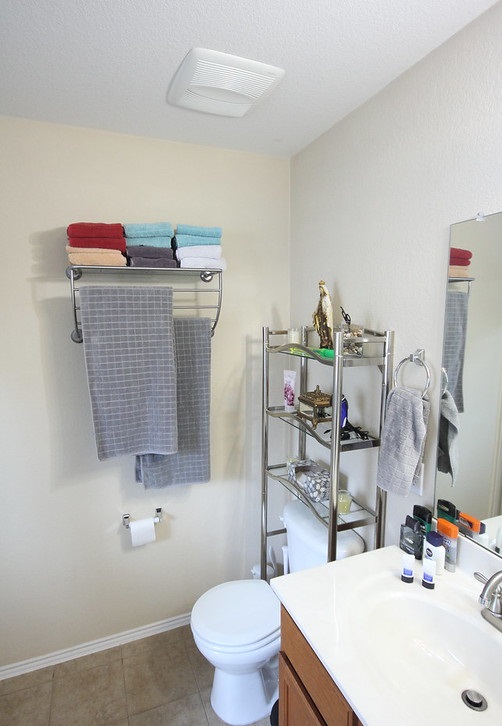
Remove the old fan
Begin by taking off the cover. Covers are either held by screws or even snaps. Identify the type which holds the cover and use the appropriate method to take it off. Remember to remove the cover gently to avoid damaging it. It is quite delicate.
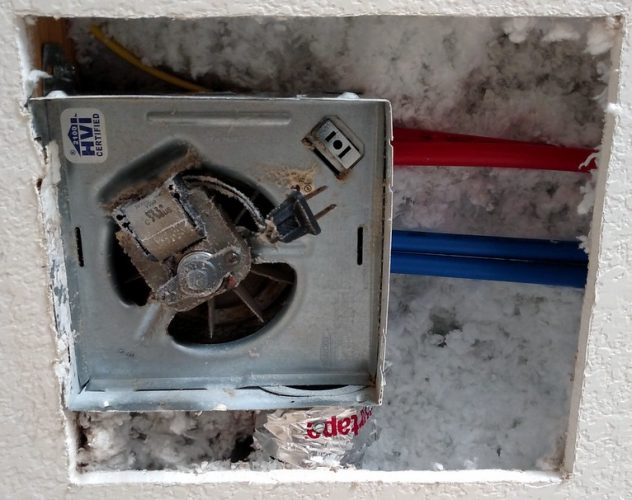
Disconnect the wiring of the old fan
Remember that the old fan had the wiring already in place. You should exercise some care so as not to damage the wiring as you do the disconnection. These wires do carry electric power. To be safe, you better switch the power off totally. The wires are always concentrated inside its housing unit.
When the power is off, you can then remove the wires from the housing. If the housing has connectors, you will also need to remove it. It is when all the wires have been disconnected that you can connect the new fan.
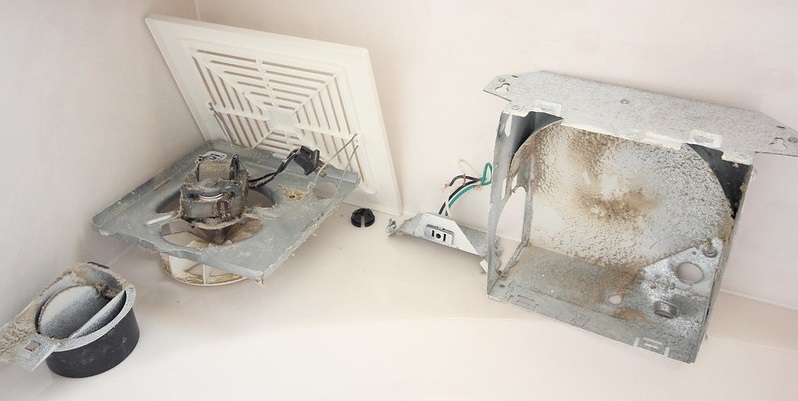
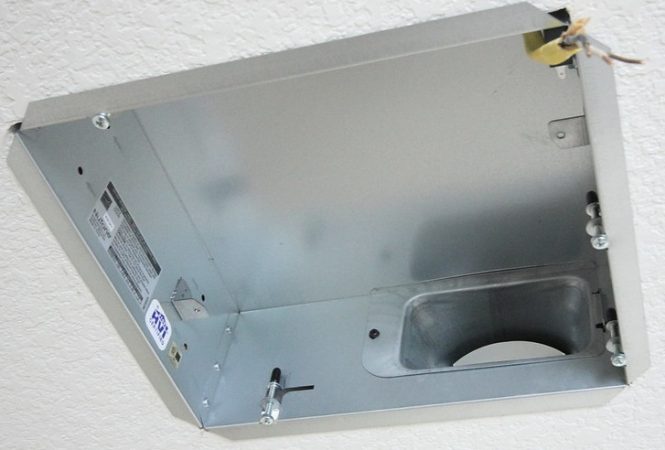
Detach the vent pipe and remove its housing
This is a long connection between the roof and the fan itself. Unscrew the screws to set it free, and if it is held on to the position by a tape, just peel it off. Then pull out the vent pipe slowly but carefully until it comes out of the housing of the fan. Then remove the vent fan from its place. This is in preparation for installing a new one in place of the old one.
You have successfully removed what needs to be removed and it is now time to put back a new one.
Readjust the ceiling hole.
This may not be a necessary thing to do, not unless the size of the fan changes significantly. Make the correct measurement so that you do not cut your ceiling unnecessarily. If the new fan is larger than the old one, you will have to cut out some pieces. Should the new fan be smaller, then you will have to patch the ceiling to reduce the size of the hole.
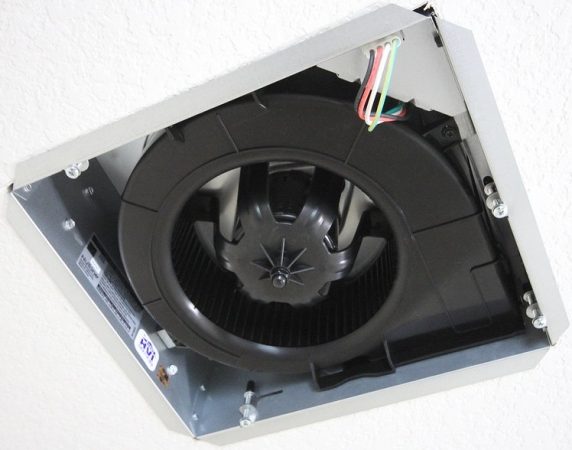
Reattach the new fan
This is normally done with the use of the screwdriver or even by the use of the brackets. Ensure that you fasten the fan firmly in place to avoid it loosening or falling off. It is also important not damage it while attaching it to the ceiling.
Put back the vent pipe
Remember that you had removed the vent pipe initially when you were removing the housing unit. It is not necessary to change the vent pipe, as the same old one will do well. Slide it in carefully till it is fully in place and fasten it securely using a tape.
Reattach the electricals
Double-check again to ensure that power is not running in the wires. Carefully, connect it back to the correct terminals. If you connect wrongly, you may end up burning the fan when the power comes on. The good thing is that the wires are colored by the terminals. The colors are white, black and yellow. The corresponding terminals are assigned the same colors too. Once done, push the connections back to the housing, and cover it with the junction cover.
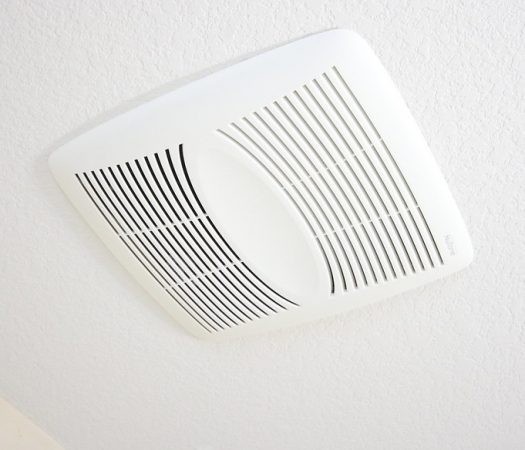
Insert back the fan cover
If the model of the fun is held by screws, then you will need to fasten it with screws. Should it be the one held by the plastic tabs, then it will need to be pushed until it fits its place. Do not come down the ladder before ensuring that the fan is firmly and securely held in place.
Test run the fun
Switch on the power and turn on the fan power too. Run it for some time to see how it responds. If the fan responds with a loud noise, then you will need to recheck your work. On the contrary, it may fail to run the fan. You will be forced to redo the work. The error can first be traced to the wiring system.
If the wires do not transmit power, then it won’t even turn on. If it fails to function, or function abnormally, then you may need to contact a technician for help. Alternatively, you can refer back to the manual provided in the bathroom exhaust fan replacement kit.
How long should you run the bathroom exhaust fan?
Depending on the smell in the bathroom, you can let it run for about half an hour. It can also be left to run at the convenience of the owner.
Conclusion
Give your bathroom a fresh smell with the installation of the bathroom fan. When not in good condition, the fan will need a replacement following the above-listed steps. Where it becomes difficult to do the replacement, always consider contacting a qualified technician. Exercise some little care when handling both the electricals and the fan. It is better to be safe than sorry.