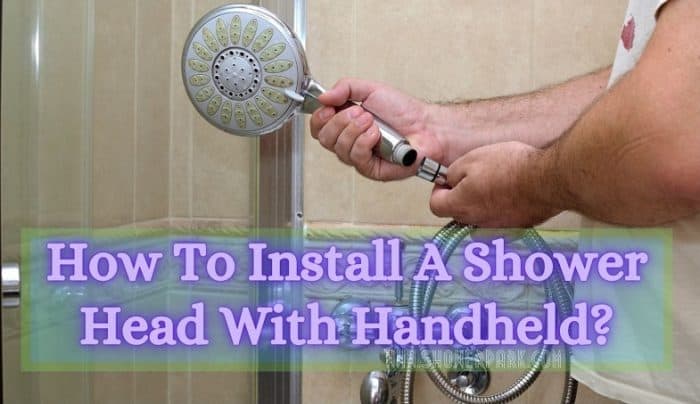
A handheld shower head makes your bathing a lot more comfortable and efficient than it is with regular showers.
Not only does it allow you to control the water pressure but also it lets you reach every area of your body, which you should find difficult with regular ones. It is handy when you’re bathing your pet, or helping out your loved one in the shower. Having a handheld shower head does make a difference.
If you’re thinking of installing this improvement, you’ll be happy to know that it’s so simple that you won’t even need a plumber!
You can just read this piece of writing and follow its instructions to learn “how to install a shower head with handheld?”.
Preparations Before Starting
You won’t really need anything more than the equipment you already have in your home, to install the shower head. Here is a list of what tools you will need to start working right away –
- An adjustable wrench or plier
- A toothbrush or microfiber cloth
- Teflon tape and a normal tape
- Your showerhead equipment
- A towel
Also, before starting, you need to turn the water off. You can either do it from the local shut-off located somewhere in or near the bathroom, or just shut it from the main. At this point, you are ready to do it!
How to Install a Shower head with Handheld?
Follow these really easy steps to replace the old shower head with the new handheld one;
Remove the Existing Shower head
To remove the old shower head, you can turn it counter-clockwise with your bare hand. However, if the showerhead has been installed for very long, you may find it too tight to twist it by hand. In that case, it’s better to use an adjustable wrench or a plier.
To get the maximum efficiency from a wrench or a plier, wrap the teeth of it with a normal tape. Doing so will prevent any damage to the shower arm while you use the tool.
Now, use the wrench to unscrew the shower head until it is twisting swiftly, and then take it off using your hand.
Prepare the Shower Arm
After you have removed the old shower head, it is time to clean and prepare the shower arm. Use a toothbrush or cloth, better if a microfiber cloth to rub off all the debris, grit, and old Teflon tape from the shower arm thread. Use a little bit of water on the thread to efface the grit away and dry it with the cloth.
Now, you can apply new Teflon tape around the thread. What you should keep in mind is that, the tape should be winded in the same direction you will screw the new shower head in, and that is generally done clockwise.
Wrap the tape firmly over the thread area for 4 to 5 folds, and be sure not to cover any area except for the thread so that the tape doesn’t become visible after installation. You can immediately use your fingers to rub over the taped thread, so the tape will stick strongly.
The shower arm is now ready to have new shower head installed.
Attach the Shower Mount
The shower mount, also called shower holder or bracket, is to be installed directly to the arm now. The bracket has two openings, one fittingly sized for the shower arm, and the other to have the hose pipe twisted in. Adjust the bracket to the shower arm thread and tighten it with your hand. Turn the bracket to have the other opening facing down.
The shower bracket is now prepared, with one opening to fit your hose pipe and a mount for your handheld shower head.
Install the Hose and Shower head
This part is as easy as the procedures you’ve followed earlier. However, while some of the hose pipes have the same fitting on both ends, there are many hoses that come with difference in the openings. In such case, you will have to figure out which part connects to what.
Mostly, the side with hex nut connects to the shower bracket and the side with conical nuts connects to the wand, or in other words – the handheld shower head. This is important to figure out because if the shower head is wrongly connected to the other side, it may not fit or slide in to the mount or holder.
So, figure out which side goes where, and then install the hose into the bracket and the wand to the hose. Tighten the nut with either your hand or a wrench, but don’t over-tighten it. It’s better to use your hand while tightening the conical nut.
Now you’re done with installing your handheld shower head. Yes, as easy as that!
Check for Any Leak
After installing your new shower head, you may want to check for any leak. Turn on the water and closely inspect whether water is flowing out through any leak. You should look for especially the both ends of the hose pipe and the area the shower arm and mount are connected at.
Tighten the connections more if you see water is leaking off. If that doesn’t work too, uninstall the connection and apply more Teflon tape on the shower arm thread and install it back, that should seal the leak off.
Well, if there’s no leak, congratulations! You have done the job very well! Hang the shower head on the holder or just start having a shower right away!
Few Maintenance Tips
- You better clean your showerhead regularly to keep it intact. Use a toothbrush to scrub over the nozzles and remove the mineral grit.
- If your shower has rubber-made flexible nozzles, you can scrub it with your fingers and clean.
- You should also clean the filter, which is within the showerhead. Read your manufacturer’s guide to know how it is cleaned and perform it on a regular basis.
Frequently Asked Questions (FAQs)
Is it possible to add a handheld showerhead to an existing showerhead?
Yes, it is possible to do so. Many models have an extension in the shower arm that you can use for the addition. There is a pipe with a bent that comes out of the wall and which connects to the showerhead.
That is the point where you can install the tub spout, and it has a specialized diverter fitting system!
Can I convert my fixed shower head to handheld?
Yes, you can always convert it to a handheld one. The procedure is as follows:
a) Remove the old showerhead, and clean the thread to remove the limescale and other deposits.
b) Sep up the bracket.
c) Connect the hose to the new showerhead system.
d) Install the new handheld showerhead.
e) Test the system and check out for any faults in the installation.
How does the handheld showerhead function?
It has a long and flexible handle with a showerhead at one end. The other end attaches to the water outlet in the wall. The outlet can consist of the spout or a sink faucet.
To use it, detach the handle from its bracket, turn on the handle, and the water will start spraying out.
Conclusion
After a tiring workday, nothing is as refreshing as a good shower. With the new shower head, the satisfaction of your bath increases by a lot!
So now that you how to install a handheld shower head, what are your waiting for?
Go, and change your shower head.

